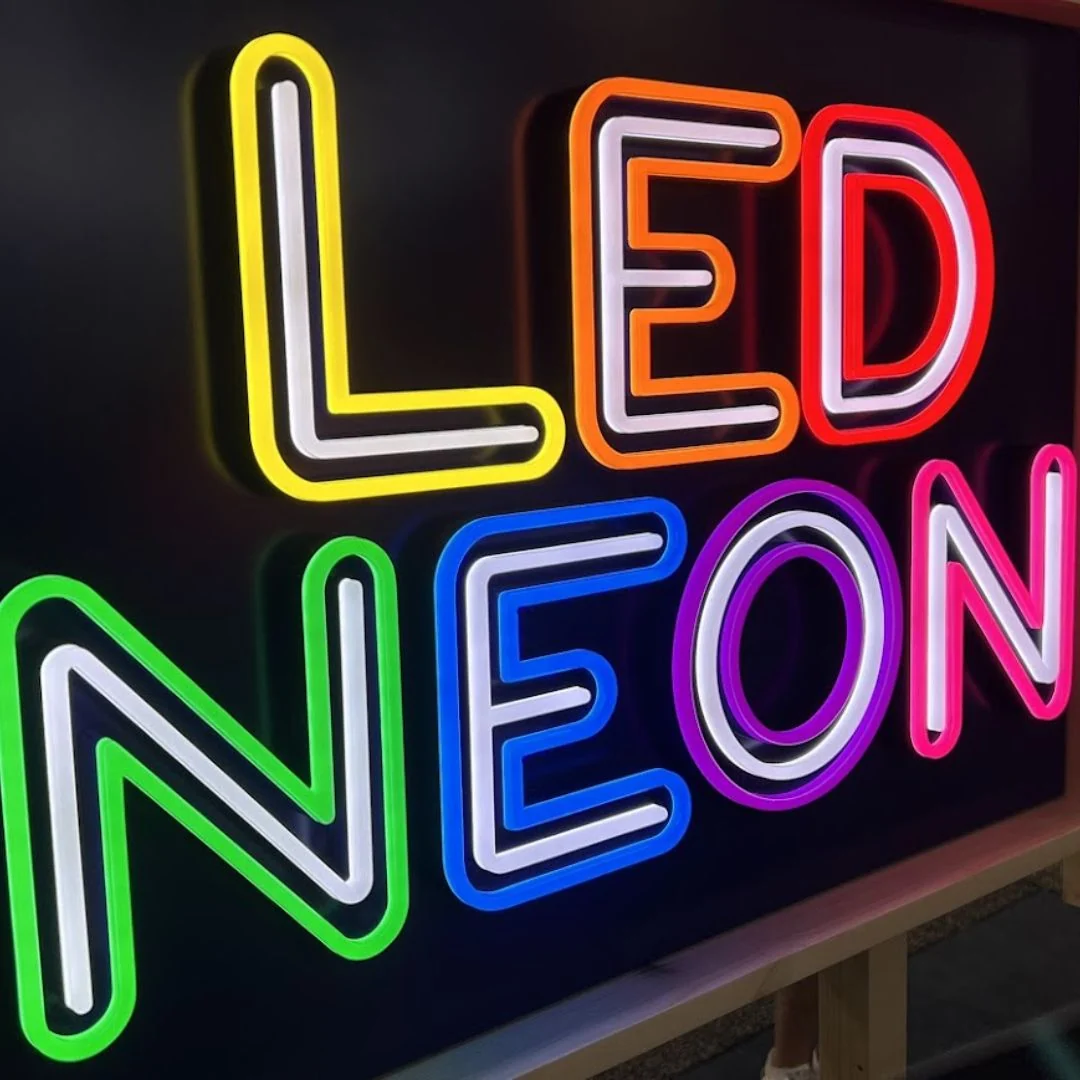
Behind every glowing sign is a series of carefully coordinated steps. Each one affects how the sign looks, how bright it shines, and how long it lasts. Following the journey from concept to doorstep shows why quality varies so much.
In a well-run workshop, a led sign manufacturer moves each order through a clear sequence of stages, with checks along the way. Here is how that process typically unfolds.
Step 1: Receiving the Brief
Production starts with information. The customer supplies artwork, size, color preferences, and installation details.
Vector files such as AI, EPS, or PDF are preferred because they scale without losing sharpness. If only a rough sketch exists, designers can redraw it.
Step 2: Design and Technical Drawing
Designers convert the idea into a production-ready drawing. They decide letter thickness, tube path, spacing between LEDs, and cable exit points.
Proof Approval
A digital proof is sent for review. It shows dimensions, colors, and how the sign will be mounted. Production begins only after written approval, which prevents costly mistakes.
Step 3: Material Preparation
Raw materials are inspected and cut to size. Typical items include:
- Acrylic sheets for faces and backing
- Aluminum coils or sheets for letter returns
- Silicone or PVC tubing for LED neon
- LED modules, strips, and drivers
- Wires, connectors, and mounting hardware
Step 4: Cutting and Shaping
CNC routers and laser cutters carve acrylic and metal with high accuracy. Computer control ensures each piece matches the drawing.
For LED neon, technicians bend and place the flexible tube along guide lines. Skilled hands are still important here, especially for tight curves.
Step 5: Surface Finishing
Cut edges are polished to remove roughness. Aluminum parts may be painted or powder-coated, and acrylic faces may receive vinyl films or printed graphics.
Good finishing improves appearance and protects against weather. Rushed finishing often leads to chipped paint or visible seams.
Step 6: LED Installation and Wiring
LED modules or strips are placed at calculated spacing. Too much distance causes dark spots, while too little wastes energy and adds heat.
Wires are connected to the power supply with careful insulation. Waterproof signs use sealed connectors and silicone or potting compounds.
Step 7: Assembly
Faces, returns, and backs are joined using adhesives, screws, or welding. Gaskets and sealants are added where needed.
For neon-style signs, the tube is attached to its backing, and the cable is routed neatly. Mounting holes are prepared according to the plan.
Step 8: Testing and Aging
Every sign should be powered on and inspected. Technicians check:
- Uniform brightness and color
- Correct voltage and current
- Safe insulation and grounding
- Water resistance for outdoor models
- Secure mounting points
Many factories also run an aging test, keeping the sign lit for several hours to reveal weak components before shipping.
Step 9: Final Inspection
Inspectors review appearance, dimensions, and accessories. Scratches, glue marks, and loose parts are corrected.
Documentation such as manuals, wiring diagrams, and warranty cards is included at this stage.
Step 10: Packaging
Protection is critical. Signs are wrapped in film, cushioned with foam, and placed in strong cartons or wooden crates.
Large letters may be packed individually with labels indicating their order, making installation easier.
Step 11: Shipping and Delivery
Orders travel by courier, air freight, or sea freight depending on size, cost, and urgency. Tracking numbers allow customers to follow progress.
Export orders require customs documents, such as invoices and packing lists. Clear paperwork helps avoid delays at the border.
Step 12: Installation and Support
On arrival, customers should inspect the package and test the sign before mounting. Installation guides and technical support help ensure correct setup.
If a problem appears, photos and a short video help the supplier identify the cause quickly.
Final Thoughts
Making an LED sign involves design, precise fabrication, careful wiring, and thorough testing. Each stage influences durability and appearance, which is why skipping steps often leads to disappointing results. Understanding this process makes it easier to judge suppliers and appreciate what goes into a quality sign.